Choose your operating system:
Windows
macOS
Linux
-
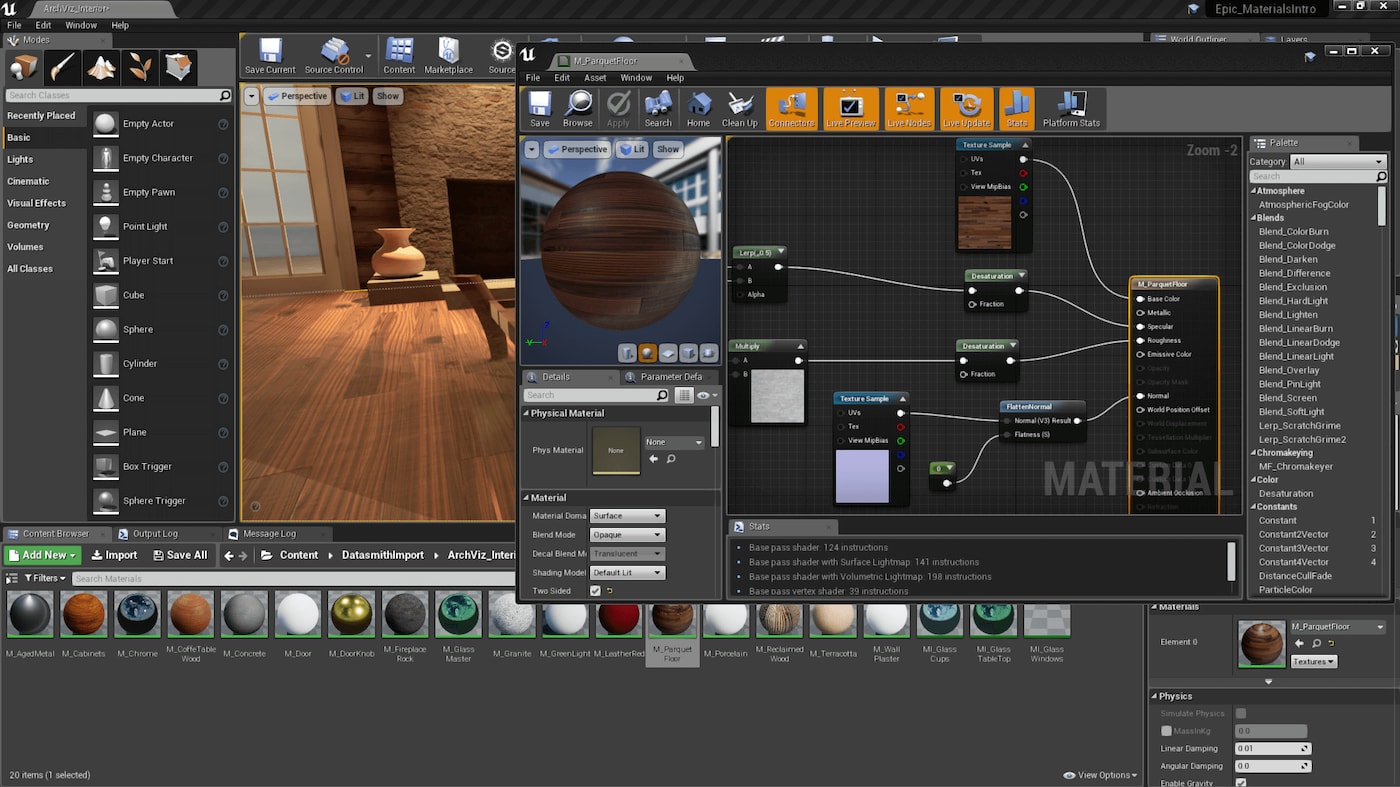
Material Editor UI
-
Material Inputs
-
Material Editor Reference
-
Essential Material Concepts
-
Material Properties
-
![]()
![]() Creating PBR Materials
Creating PBR Materials -
![]()
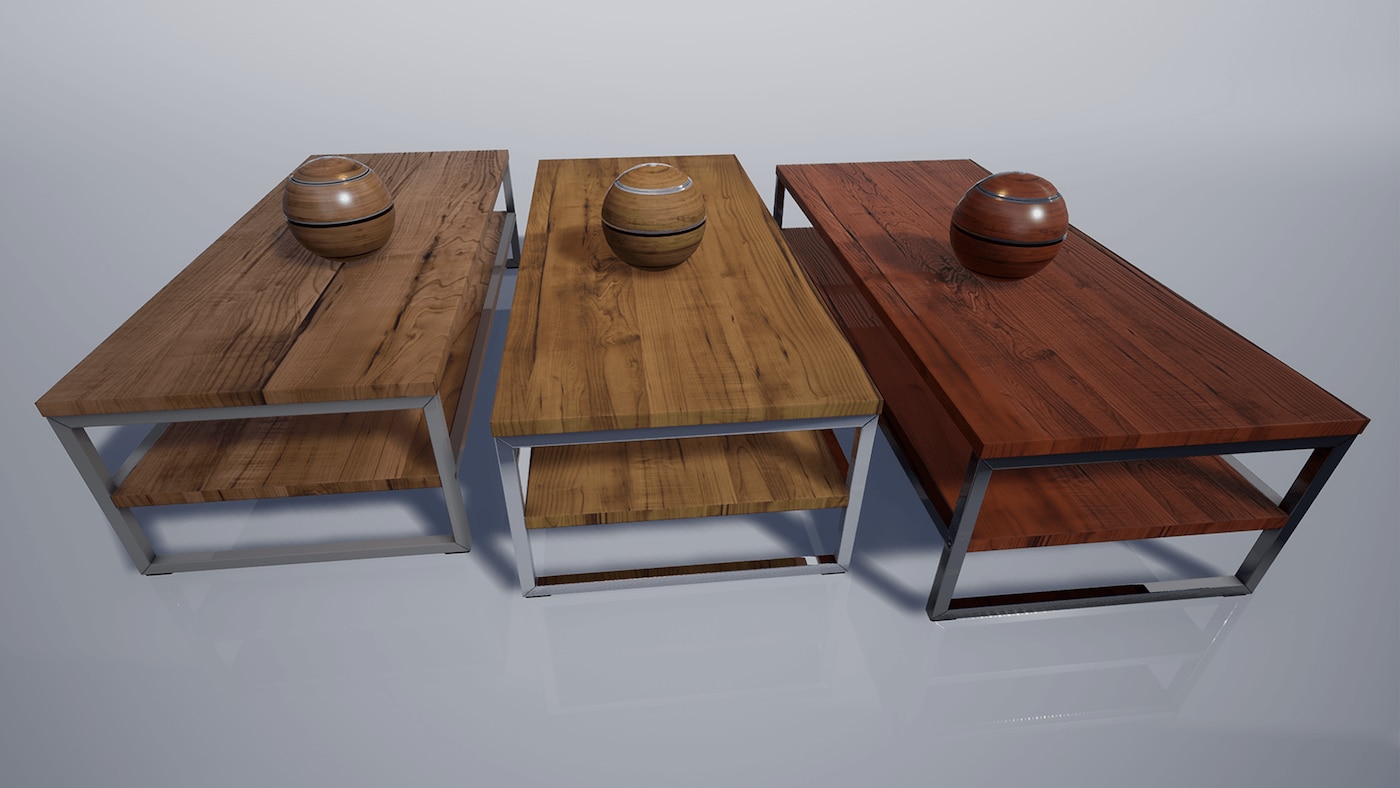
![]() Getting to Know Materials for Design Visualization
Getting to Know Materials for Design Visualization -
![]()
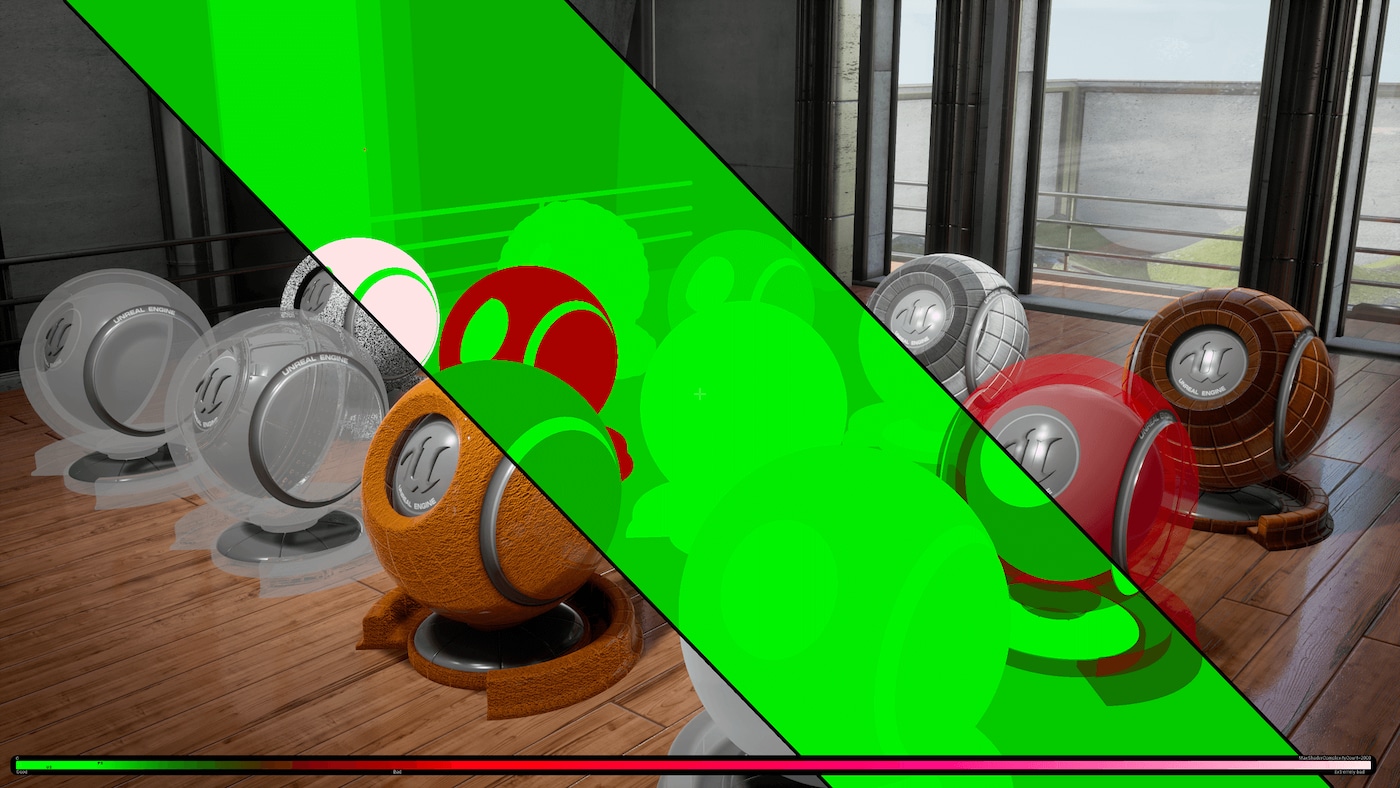
![]() Materials — Exploring Essential Concepts
Materials — Exploring Essential Concepts -
![]()
![]() Materials — Understanding the Production Workflow
Materials — Understanding the Production Workflow -
![]()
![]() Materials — Master Learning
Materials — Master Learning


-
The Main Material Node
-
Main Material Node Breakdown
-
Main Material Node Details Panel Properties
-
-
Using the Main Material Node
-
Conclusion
The Main Material node of the Material Graph is where all of the Material Expression nodes that are added to the Material Graph will end up being connected to. The results of what is input into the Main Material node is what will be displayed when the Material is compiled and applied to objects in game. In the following How-to, we will cover all you need to know about how to use the Main Material node.
The Main Material Node
Materials are created using a specialized coding language called High Level Shading Language or HLSL. HLSL allows Materials to talk directly to the graphics hardware giving artist and coders better control over what is being displayed on screen. Inside Unreal Engine 4 (UE4) the Material Expression nodes that are used to create Materials contain small snippets of this HLSL code. To display the results of all these small snippets of HLSL code, the Main Material Node is used. The Main Material node can be thought of as the last stop in the Material Graph. Whatever combination of Material Expression nodes is plugged into the inputs of the Main Material node is what will be displayed when the Material is compiled and used.
Main Material Node Breakdown

The Main Material node is responsible for displaying the results of all the Material Expression nodes that are input into it the various inputs. Each input on the Main Material node has a unique effect on how the Material will look and perform. A White colored input means that input will have an affect on the Material, while grayed out input will have no affect on the Material. By default, the Main Material node does have some of its inputs grayed out. To enable inputs or disable inputs on the Main Material node, the following properties have to be modified in the Details panel of the Material.
To access the Details panel you need to make sure that you have the Main Material Node selected. To select the Main Material Node click on it with the Left Mouse Button .
-
Blend Mode
-
Shading Model
-
D3D11Tesselation Mode

When enabling a certain input, like Opacity, the newly enabled input will be displayed in the color White. Keep in mind that enabling one input might disable another. For example, changing the Blend Mode from Opaque to Masked will enable Opacity Mask . While changing the Blend Mode from Opaque to Translucent will disable Opacity Mask but enable Opacity .

You can still have connections made to grayed out inputs on the Main Material node however they will do nothing. The only time the inputs will ever affect the Material is if its inputs are enabled like in the following example. In this example, a Material Expression node has been input into Opacity but it has no effect on the Material because the input is grayed out thus not active.

To enable the Material to make use of Opacity, change the Blend Mode from Opaque to Translucent. This will activate the Opacity input allowing the Opacity amount to be changed via the Material Expression node that is input into the Opacity input like in the image below.

Main Material Node Details Panel Properties
The Main Material nodes Details panel is where you can adjust properties that relate to how this Material can be used. From changing the Blend Mode that is used to adjusting the types of objects the Material can interact with, the Main Material Node Details panel can be thought of as the properties of the Material. Here is a brief breakdown of what each section in the Main Material node Details panel does.

|
Section Name: |
Description |
|---|---|
|
Physical Material |
This allows you to specify what type of Physical Material is used for this Material. |
|
Material |
This is where you will spend most of your time when editing Materials. The Material section is where you can change the Material Domain, Blend Mode, and Shading Model along with many more options. |
|
Translucency |
This is where you can adjust how Translucency in this Material will function. Please note that this is only editable if the Material Blend Mode is set to Translucent. |
|
Translucency Self Shadowing |
This is where you can adjust how Translucent self shadowing looks and behaves. Please note that this is only editable if the Material Blend Mode is set to Translucent. |
|
Usage |
This is where you set what type of objects this Material will work with. Usage flags are usually set automatically by the editor. However if you know that this Material is supposed to be used with a certain object type, make sure you enable it here to avoid any future mistakes |
|
Mobile |
This is where you set how this Material should work when used on a mobile device like a smart phone. |
|
Tessellation |
This is where you can enable the Material to make use of Hardware Tessellation. |
|
Post Process Material |
This is where you define how this Material should work with Post Process and Tone Mapping. Please note that this is only editable if the Material Domain is set to Post Process. |
|
Lightmass |
This is where you can adjust how this Material will interact with Lightmass. |
|
Material Interface |
This is where you can define a Static Mesh to preview the Material with. |
|
Thumbnail |
This controls how the Thumbnail that you see in the Content Browser is displayed. |
Using the Main Material Node
Setting up a Material to use the Main Material Node is something that can be accomplished in the following few steps.
-
First use the mouse to Right-Click in the Content Browser and then from the Create Basic Asset section of the pop-up Menu, select Material . Once the Material has been created, name the Material MainMaterialNode .
-
Open up the Material by Double-clicking on it with the Left Mouse Button inside of the Content Browser .
![Material_Open_Material_Editor.png]()
-
To use the Main Material Node, you first have to add Material Expression nodes to the Material Graph. Add a Constant3Vector Material Expression node to the Material Graph by holding down the Number 3 Key on the keyboard and using the Left Mouse Button to click anywhere inside of the Material Graph to place the node.
![Material_Adding_Const3Vector_Node.png]()
There are multiple ways to add nodes to the Material Graph. You can drag and drop form the Material Pallete , you can also Right-Click in the Material Graph and then search for nodes via the Context menu. Finally, you can use Keyboard Shortcuts to place nodes in the Material Graph. You can read more about this in the Material Editor UI page.
-
Next add a Constant Material Expression node to the Material Graph by first searching in the Material Pallete using the word Constant as a search term. When the Constant Material Expression is found select it by clicking on it with the Left Mouse Button and with the Left Mouse Button still held down, drag the Material Expression node into the Material Graph and release the Left Mouse Button when your mouse is over the location in the Material Graph where you want to place the Material Expression node.
-
Now that we have a Constant node, duplicate it by first selecting it and then pressing Ctrl+W on the keyboard once. When completed, you should have something that looks like this.
![Materail_Duplication_Of_Nodes.png]()
-
With all of the required Material Expression nodes now in place, it is now time to setup and connect them to the Main Material Node. First Double-Click on the Constant3Vector node using the Left Mouse Button to open up the Color Picker. With the Color Picker open, select the color red and then press the Ok button.
-
Now connect the Constant3Vector to the Base Color input on the Main Material node. To do this, use the Left Mouse Button to click on the circle output that is on the right of theConstant3Vector Material Expression node. Then with the Left Mouse Button still held down, drag to the right until you see a line coming from the circle output. Connect this line to the Base Color input on the Main Material node.
As you make changes to the Main Material Node the viewport in the Material Editor will update to reflect your changes. However this viewport can take a few seconds to update with changes depending on the complexity of your Material. For making slight tweaks to the Material a Material Instance should be used as it shows changes instantly.
-
With the Base Color now set, set up the remaining Constant Material Expression nodes by first selecting one of them with the Left Mouse Button . Then under the Details panel, input a value. For the first node, input a value of 1.0 and for the second node input a value of 0.5.
![Materail_Setup_Constants.png]()
-
Once the values of the Constant Material Expression are set, connect the Constant Material Expression node with the value of 1.0 to the Metallic input on the Main Material Node. Then connect the Constant Material Expression node with the value of 0.5 to the Roughness input on the Main Material node.
-
At this point, you can now begin to adjust both the values of the Constant Material Expression and the Constant3Vector Material Expression to change the look of the Material. You can also connect different Material Expressions and combinations of Material Expression into the other inputs. For example, see what happens when you try and input something into the Emissive or Normal inputs on the Main Material node. Finally make sure to press both the Apply and Save buttons.
![R_Apply_&_Save.png]()


Conclusion
The Main Material node plays a huge role in how Materials will be displayed and what inputs that Material can use. No matter how many Material Expression nodes a Material uses the effects of those nodes will not be seen until they are input into the Main Material node. Also keep in mind that if the Material is not doing what you want it to do, make sure that you have the correct options set in the Details panel.